
Spindrift
This past winter/spring I had some big chunks of free time, so I worked hard on my boat. Spindrift is the second outrigger canoe I have built in Belize. The first was called Manadi, the Carib word for manatee. It was made of a dugout canoe, and had a single outrigger and a single sail. Here is the finished product before I took her out and broke her in.

A lot of modifications were made after this picture was taken. The small mast and sail were removed: it was too complicated. The wooden rudder was replaced with one taken from the wreck of an old Hobie Cat. The new rudder would eventually become the keel for the Spindrift.
Manadi was an interesting boat. She sailed close to the wind, and with her full-length keel,she tracked such a straight line that once I got her on a heading, I could steer by making slight adjustments to the sail, without having to touch the rudder. She was, however, extremely difficult to turn.
The big problem with Manadi, though, was that she was so heavy. I needed a boat that I could pull up on the beach, above the high tide mark. And I needed to be able to drag her back down in the morning. This boat, being basically built from a big log, was, basically a big log. In the photo you can see what look like two roundish,white objects under the keel. Those are inflatable dock fenders, meant to be used as rollers, completely flattened by the weight of the boat.
I decided to change my project and build a new boat of fibreglass. This was the beginning of Spindrift. I started with the purchase of a fibreglass canoe from Bradley’s Boatyard in Belize City.

The founder of Bradley’s Boatyard, Mr. D. Bradley Sr. graciously allowed me to take his picture, sitting beside the canoe I purchased. Here is a better picture of the canoe.

The above boat is a three-person racing canoe, undoubtedly built for the Ruta Maya Canoe Race, Belize’s largest annual sporting event. The Bradleys build big boats, and they know how to build them strong. This 20 ft. (5.8m) canoe was built the same way. Too heavy for racing, but strong enough to take punishing waves, or a hard surf landing on a beach. Not so good for racing, but perfect for me. So I bought the boat.
Getting it to Dangriga was a challenge, one which I wrote about in another blog called The Voyage of the Manatee. If you just came back from reading the blog post I linked to, welcome back. At this point in my story, I have the new canoe in Dangriga, and I begin work on it at once.
The first stage was the decking. Everything was made of fibreglass, so I had to invent the moulds for each section as I went along.

Out of thin plywood I made the forms, then coated them in wax and laid out the glass over them. Once cured, the fibreglass pieces were trimmed to shape, and fixed in place with more fibreglass and resin.
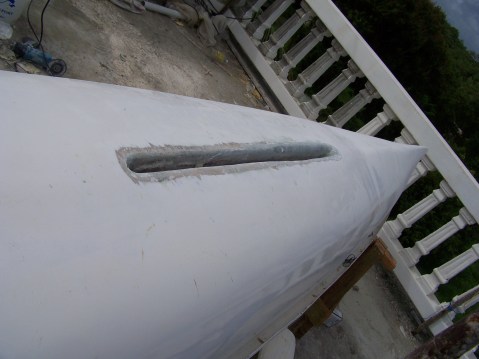
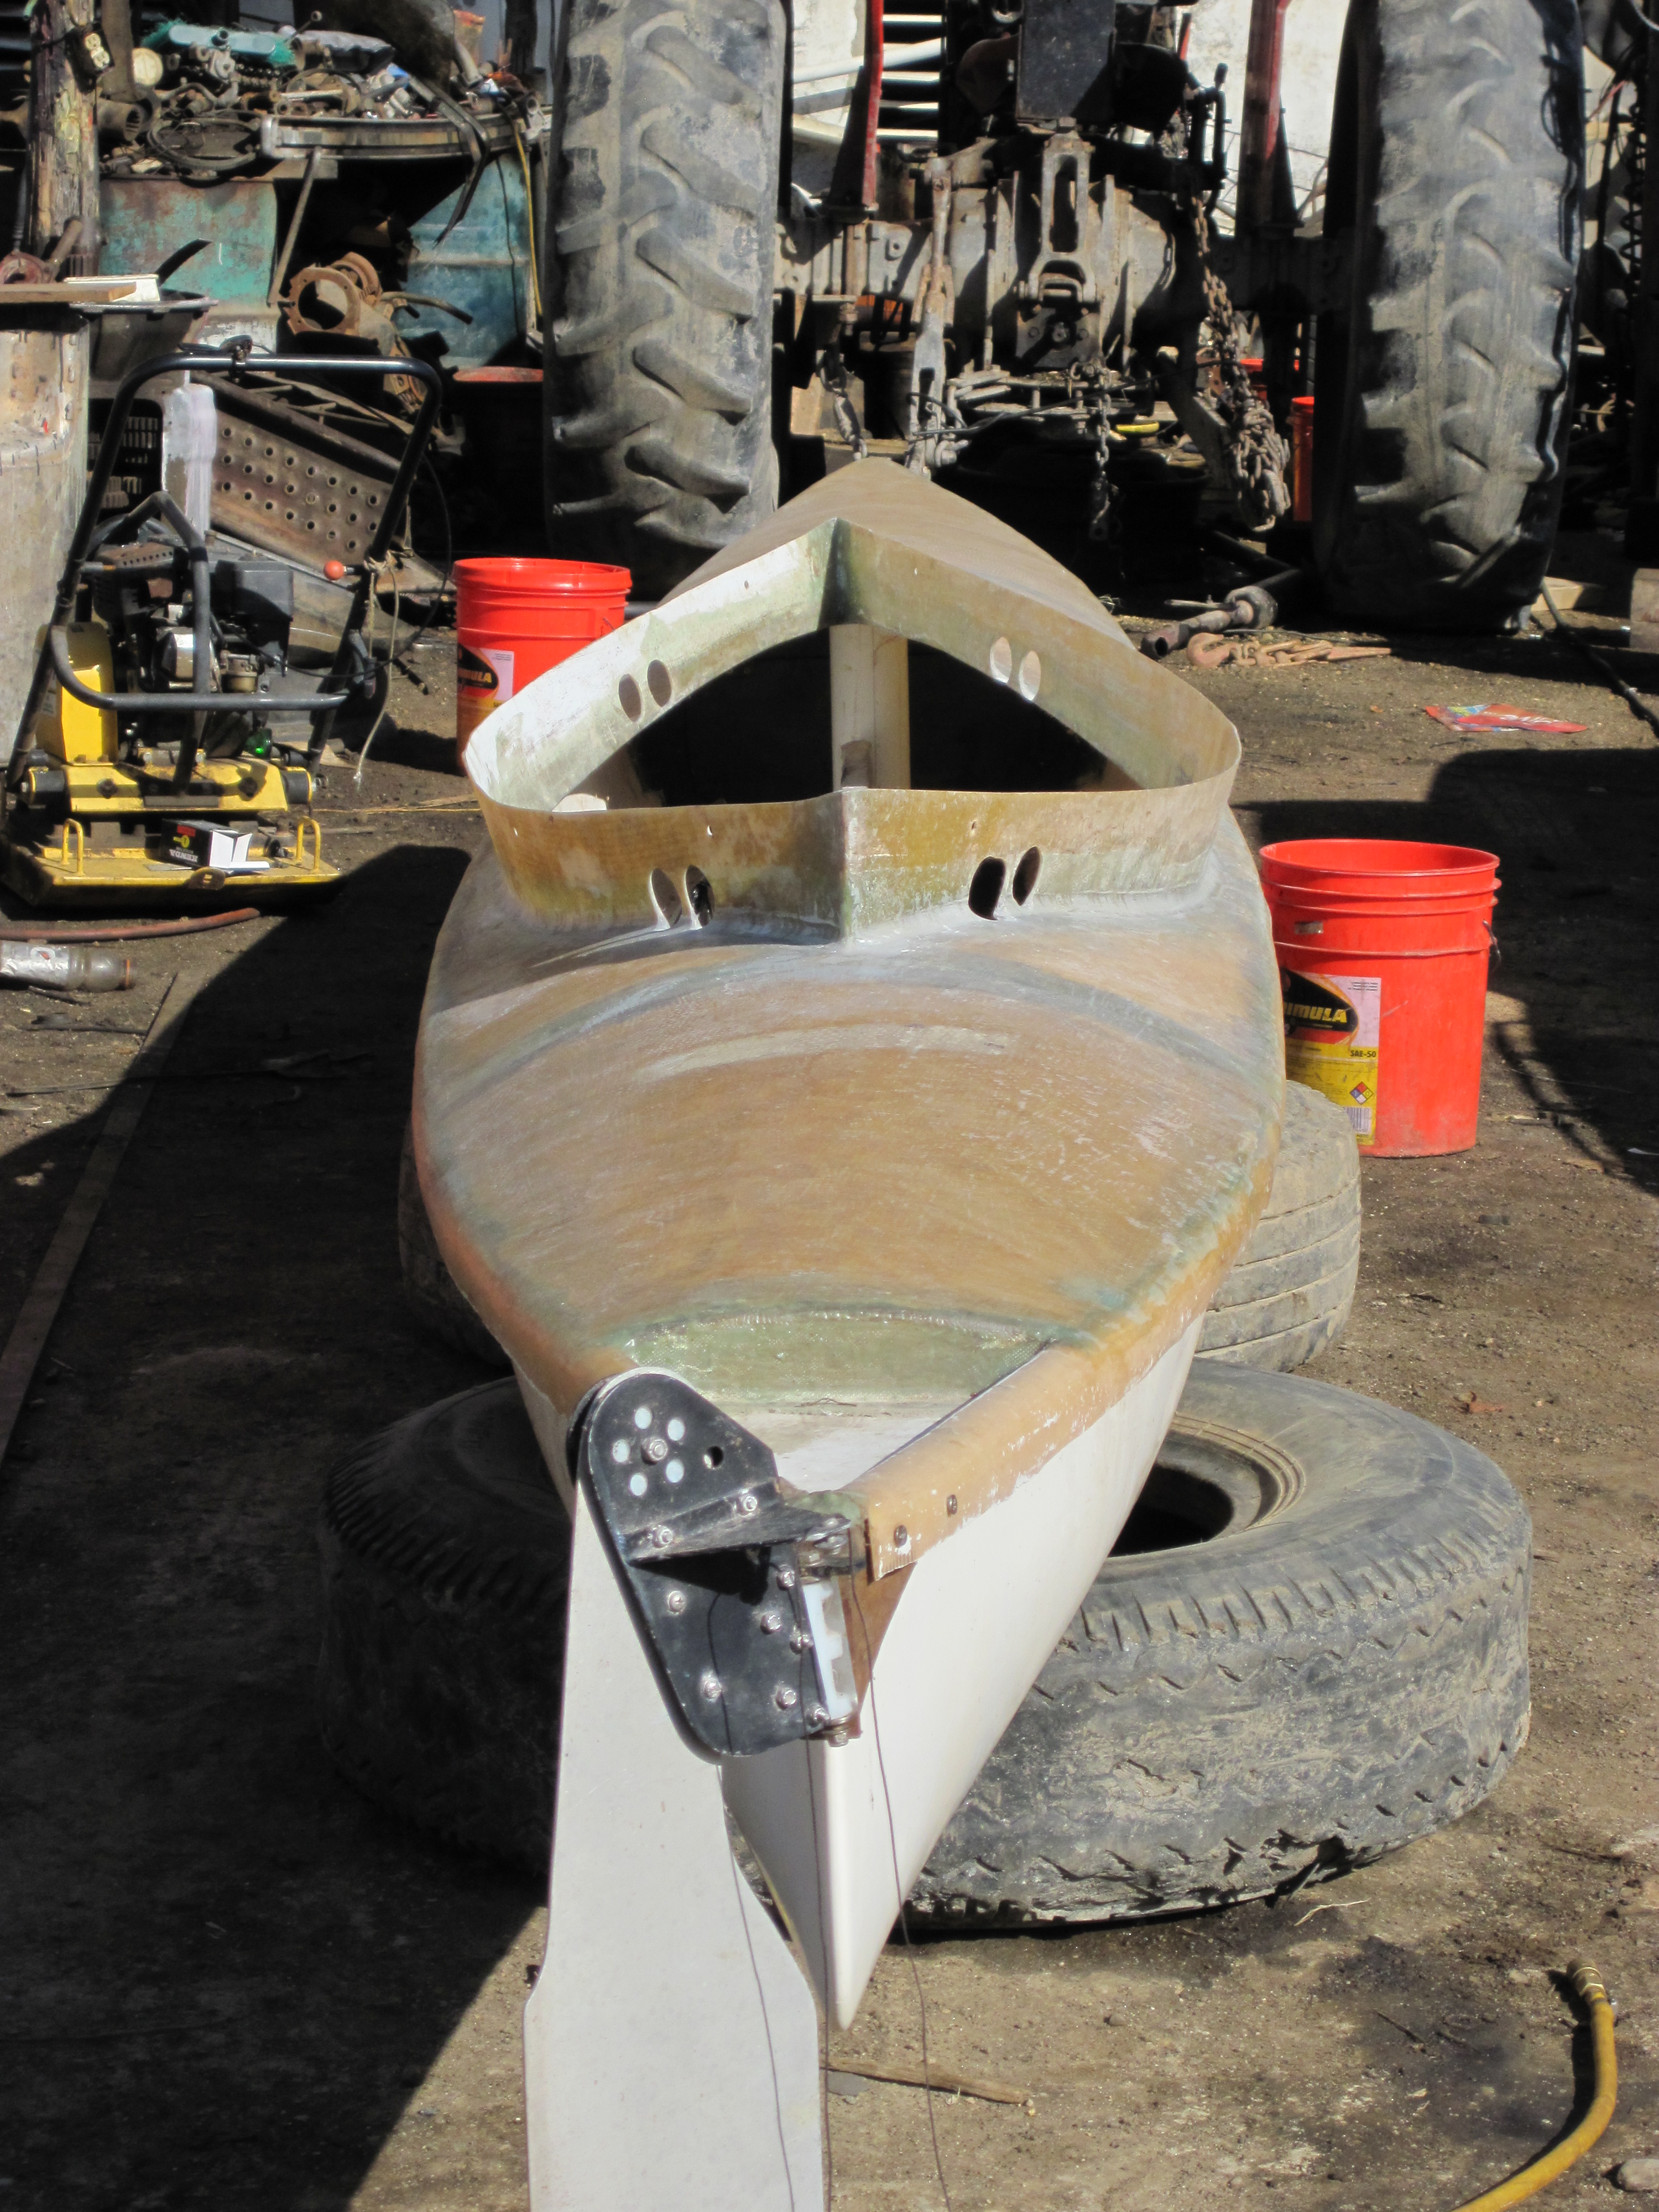
The hardest part, psychologically, was cutting a hole in the bottom to accommodate the retractable keel or daggerboard. The keel is encased in a trunk, 3ft. (~1m) long, 1 ft. (~30cm) tall and an inch (~2.5cm) wide on the inside. This long, thin box was inserted into the hull from inside the boat. The keel can be rotated up into this trunk when landing or in shallow water, and then can be extended down into the water when under sail.

The boat was divided into three sections: the central cockpit, and storage compartments both fore and aft.
Bulkheads were built and installed, with hatches for access. I wanted no hatches on deck because I couldn’t be sure of building them watertight. If water were to leak into a compartment, I wouldn’t know until the boat was severely out of trim.

Note the curved upper surfaces of the bulkheads, to give the boat an arched deck. This will shed water and provide more space inside.
This view shows the forward bulkhead with hatch cover in place. I will be able to lock up my possessions when I go ashore. The foredeck is being installed and will be trimmed along the edges when the resin has cured.
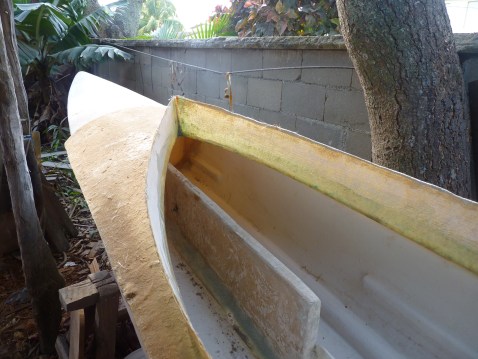
The mid-deck is just sitting roughly in place. It has a big opening in the middle, surrounded by a coaming several inches high. This coaming is to shed any water that washes over the deck, before it can enter the cockpit. By itself the coaming is too fragile.

Here is another view of the mid-deck, after it has been attached with resin. It needs to be trimmed. The after-deck is about to be cemented in place. That is yours truly, fiddling with the fit.
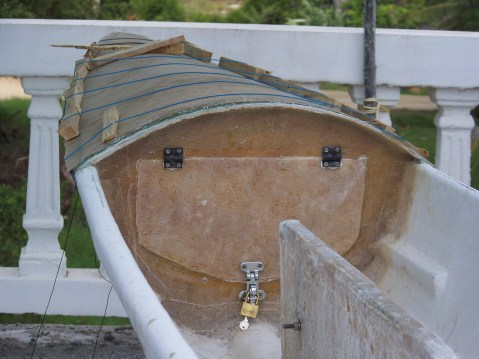
A problem developed at this point. The mid-deck covers the forward part of the cockpit. In the middle is the daggerboard trunk. With all of this fibreglass, fixed in place, how can I access the foreward compartment? In the picture below you can see how deep the foreward bulkhead is located.
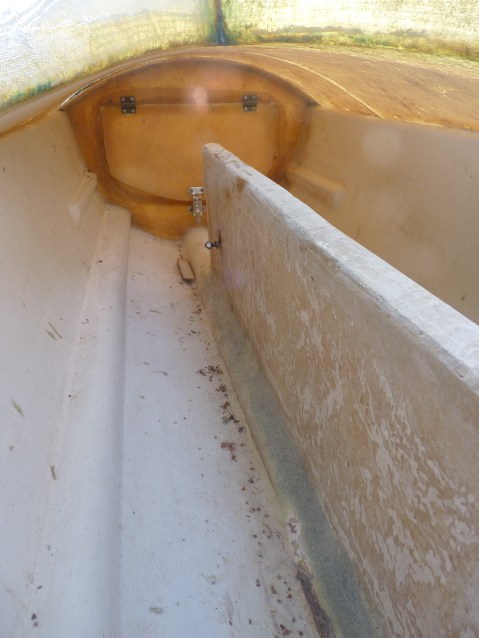
To solve this problem, as best I could, I had to install another hatch, on the mid-deck, near the foreward bulkhead.
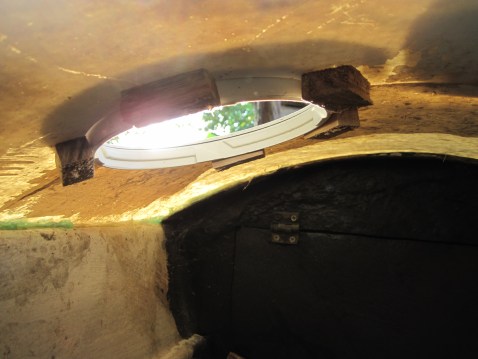
Here is the view from under the deck. This hatch allows me to reach through from above and open the hatch on the bulkhead. From there I can stuff things into the compartment, and if they are tied to a string, they can be retrieved again. Not the best way, but unless I take a trained monkey with me, the whole forward compartment would otherwise be inaccessible.
The next step was to strengthen the coaming.
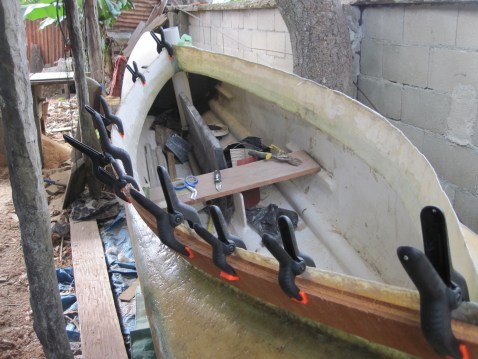
To strengthen the coaming, I installed gunwales of a local hardwood. I had to cut the wood into thin strips and laminate them together. Then I trimmed off the excess coaming.

Another view. You can see the access hatch, before the frame and cover are installed, as well as the mast step, before it was trimmed flush with the deck.

Inwale and outwale are installed and bolted in place, and the excess coaming has been trimmed flush. A little filling and some varnish are all that is needed at this point.

This is the access hatch. Barely visible in the dark is the hasp that locks the fore-hatch.
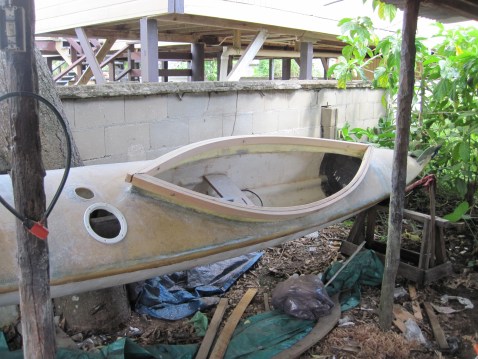
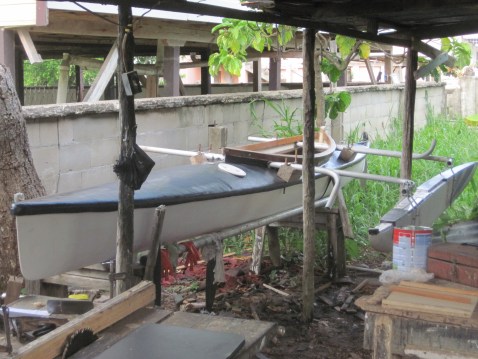
The decking is completed, the mast step is installed, and the rudder is in place. Now comes the next big phase, turning it into a trimaran.
There is a saying among nautical folk: two is one, one is none. After the loss of Manadi, I decided my next boat would have two outriggers. If one fails, it might be possible to get safely ashore using the remaining one. I experimented with a number of outrigger designs, and just as importantly, I wanted to be sure the cross-members that connect the outriggers to the main hull are strong and securely fastened.
You may have noticed that the canoe itself does not have gunwales. Instead, the hull is curved at its margins into a half-circle with a diameter of about 2 inches (5cm). I decided to bolt the cross-members to this section of the hull, so all forces will be transferred to the stronger hull, and no strain will be put on the relatively weak deck.
The cross-members are Schedule 40 aluminum poles: thick, strong and relatively light. They extend out from the hull and make a 90 degree turn. Here is a close-up of how they are attached to the boat’s hull. The view from above:
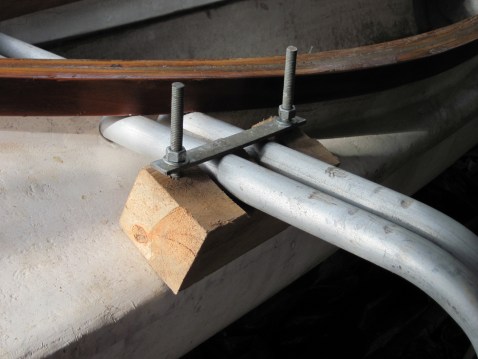
The view from below; the strain is distributed along a half-pipe of aluminum.

Once I got to this stage I decided to have a friend spray the hull with gel-coat, to protect the fibreglass and resin from UV damage, and make the boat look more finished.
Here is the boat ready for spraying. You can see the holes where the aluminum pipes pass through.
Here is Kerry spraying the boat. Note the gunwales have been removed for this step.

And here is the finished product. The boat was never going to look this good again.


Unfortunately, the gel-coat never properly cured, but remained sticky and picked up all kinds of dirt, and foreign debris. More on this later.
The last phase was my biggest challenge. What do I make the outriggers from, and how do I fasten them to the boat? I thought of all kinds of options, and finally settled on one which I could handle.
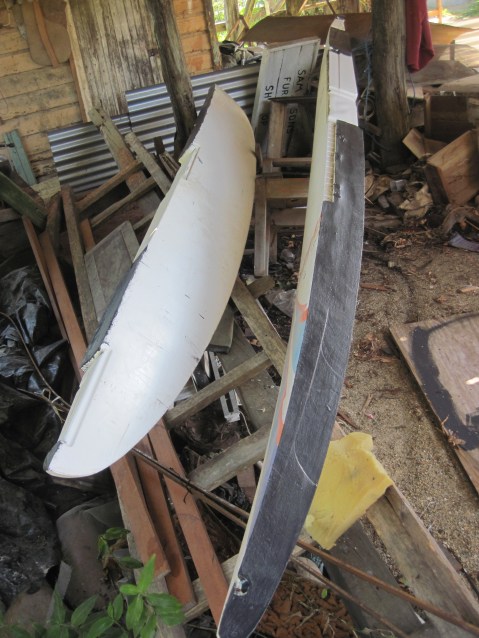
I talked one of the directors of Island Expeditions into giving me an old wind-surfer board they had lying around in storage. I then took it to the boat, and with the help of Sam, I cut it in half lengthwise.
I really owe it to Sam to pause here, and explain to you who Sam is, and how important – no – critical – he has been to my project. Dinsdale Sampson is a furniture maker who has a workshop in his yard in Dangriga. I met him the first time I came to Belize, and when I decided to do the Manadi project, I asked him to help me. I would need some space, and access to tools as well as his carpentry skills. If he would help me, I would make sure he was compensated for his time and knowledge. He was reluctant, as he had no boat-building experience, and did not want to be responsible if it all went to hell.
I reassured him that I would take full responsibility: just some crazy gringo with a dream. He agreed to help and we have been friends ever since. I misunderstood when he introduced himself, thinking his first name was Sampson, and so called him Sam. Everyone else calls him Dins, but he lets me call him Sam.
Sam has been patient, and tolerant and very helpful throughout my boat projects. I owe him a great debt of gratitude. When Spindrift gets in the water, Sam will be my first passenger. He has lived in Dangriga all of his life and has never been out to the cayes.

This is Sam, building some cabinets, while I work on my gunwales behind him.
Back to the boat. Here is the windsurfer board cut in half. I coated any exposed foam with epoxy paint in several layers.

To attach the new outriggers to the aluminum poles, I bought some 1″ x 1/4″ aluminum bar and got it cut into 18″ sections. These sections I bent and drilled to make brackets that hold the outriggers to the poles. Once fitted, the brackets were fastened to the outriggers with a strong adhesive sealant and bolted through.
Before fastening the brackets to the outriggers, I bolted them to the poles upside down. Then I slid the outriggers in place and marked them before drilling and gluing.

Another view:

Once they were fastened on, then I swung them down into position. I could only work on one side of the boat, as there is a wall close by. When both are installed it will look the same on the other side.
That is basically it. I also got a deck cover made to keep out the rain and to use as a spraydeck while underway in rough weather. The only remaining tasks are to install a crank to raise and lower the keel, a few refinements on the tiller (steering arm), and to register the boat. Next winter, she goes in the water and I will go through the process of fixing what fails and improving what is less than ideal. I look forward to the challenge.

Recent Comments